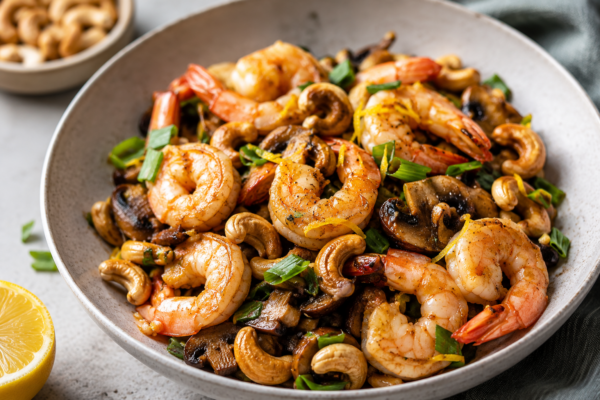
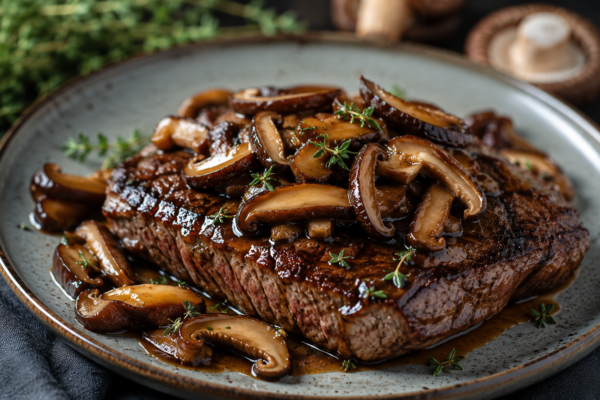
Craving a fast, healthy meal? Try our Lemony Stir-Fried Prawns with Mushrooms & Toasted Cashews Dairy and Gluten Free recipe. It's delicious! Get the rec...
The Best Ever Vegetable Stock Dairy And Gluten Free
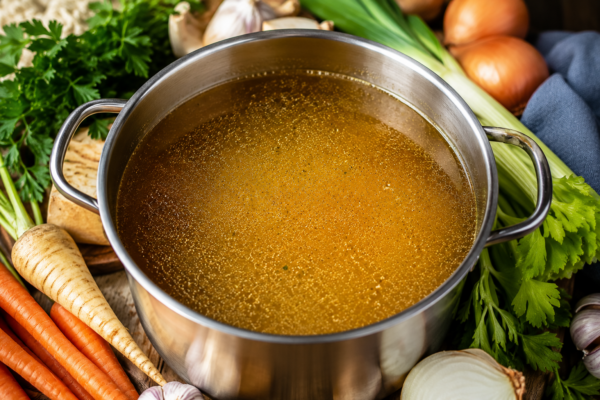 Creating a rich, flavorful, and healthy base for your favorite recipes starts here. With this guide, you’ll learn how to make The Best Ever Vegetable Stock Dairy and Gluten Free right in your own kitchen. Consequently, you can say goodbye to bland, high-sodium store-bought options and hello to a liquid gold that elevates every dish. This recipe is not only simple but also incredibly versatile, making it a staple for anyone with dietary needs or those who simply appreciate wholesome cooking. Importantly, it empowers you to take full control of your food’s foundation.
Why Choose a Homemade Vegetable Stock?
When you control the ingredients, you control the flavor and the health benefits. Many commercial stocks contain hidden additives, preservatives, high levels of sodium, and even allergens like dairy and gluten. For instance, ingredients like modified food starch can contain gluten, and ‘natural flavors’ can sometimes hide dairy derivatives or MSG. Furthermore, making your own stock allows you to use fresh, organic vegetables, maximizing the nutritional value from sources you trust. It’s a foundational step towards a cleaner, more mindful way of eating that supports overall wellness.
Additionally, homemade stock is a fantastic way to reduce food waste. You can keep a bag in your freezer for vegetable scraps that might otherwise be discarded, such as carrot peels, celery ends, and onion skins. As a result, you get a delicious, free-from product while also making a positive impact on the environment and your wallet. This sustainable practice aligns perfectly with a holistic approach to health.
Crafting The Best Ever Vegetable Stock Dairy and Gluten Free
The secret to a deeply flavorful stock lies in the selection of vegetables and the cooking technique. A classic combination, often called a mirepoix, forms the aromatic base of onion, carrot, and celery. However, the true art comes from building upon that base. Importantly, we’ll also add other ingredients to build layers of complexity and richness, ensuring your final product is anything but one-dimensional.
A key principle is to avoid certain vegetables that can make your stock bitter or starchy. For example, cruciferous vegetables like broccoli, cabbage, and cauliflower can impart a sulfurous taste. Similarly, starchy vegetables like potatoes can make the stock cloudy and gummy. Stick to aromatic and savory vegetables for the best results.
Essential Ingredients for a Flavorful Broth
- 2 large yellow onions, quartered (skins on for color)
- 4 large carrots, roughly chopped
- 4 celery stalks, roughly chopped
- 1 head of garlic, cut in half crosswise
- 8-10 sprigs of fresh thyme
- 2-3 bay leaves
- 1 tablespoon of whole black peppercorns
- A large handful of fresh parsley stems
- Optional: Mushroom stems, leek tops, or parsnip peels for deeper umami flavor
- 12-14 cups of cold, filtered water
Step-by-Step Cooking Instructions
- Prepare the Vegetables: Start by washing and roughly chopping your vegetables. There’s no need for precise cuts, as you’ll be straining them out later. For the onions, leaving the skins on will impart a beautiful, rich golden color to your finished stock.
- Sauté for Flavor (The Maillard Reaction): In a large stockpot or Dutch oven, heat a tablespoon of olive or avocado oil over medium heat. Add the onions, carrots, and celery. Sauté for 10-15 minutes, stirring occasionally, until the vegetables are softened and lightly caramelized. This step is crucial for developing a deep, rich flavor base through the Maillard reaction.
- Add Aromatics and Water: Add the head of garlic, thyme sprigs, bay leaves, and whole peppercorns to the pot. Stir for one minute until everything is wonderfully fragrant. Then, pour in the cold, filtered water, ensuring all vegetables are submerged. Using cold water helps to extract flavor more slowly and effectively.
- Simmer Gently, Never Boil: Bring the pot to a boil, then immediately reduce the heat to the lowest setting. You want a gentle, barely-there simmer, not a rolling boil. A hard boil can make the stock cloudy and break down the vegetables too quickly, leading to a bitter taste. Let it simmer uncovered for at least 1.5 to 2 hours. For a more concentrated flavor, you can simmer for up to 4 hours. Add the parsley stems during the last 30 minutes of cooking to preserve their fresh, bright flavor.
- Strain and Cool: Carefully strain the stock through a fine-mesh sieve into a large bowl or another pot. For an even clearer stock, you can line the sieve with cheesecloth. Pressing on the vegetables can release bitterness, so let gravity do the work. Discard the cooked vegetables in your compost. Finally, let the stock cool to room temperature before storing.
What Are the Best Ways to Use Your Stock?
Now that you have a batch of this incredible liquid gold, the possibilities are endless. It’s the perfect base for a variety of dishes, adding a layer of flavor that water simply cannot match. For example, use it to cook grains like quinoa, farro, or rice for a much more savory result. It is the undisputed champion for creating silky, dairy-free cream soups, hearty lentil stews, and rich risottos.
Moreover, you can use this stock to enhance other healthy recipes. Imagine using it as the liquid in a savory batter for a delicious gluten and dairy-free pizza crust or as a base for a gravy to accompany another festive holiday recipe. You can also use a splash to deglaze a pan after searing proteins or vegetables, creating an instant, flavorful pan sauce. By incorporating this stock, you are consistently boosting the nutritional profile of your meals.
Proper Storage for Long-Lasting Freshness
To ensure your hard work doesn’t go to waste, proper storage is key. Once cooled, the vegetable stock can be stored in airtight containers or glass jars in the refrigerator for up to 5-7 days. For longer-term storage, freezing is the best option. You can pour the stock into freezer-safe bags or containers, leaving about an inch of headspace for expansion.
Alternatively, a very practical method is to freeze the stock in ice cube trays. Once frozen, you can transfer the cubes to a freezer bag. This allows you to use small, pre-portioned amounts as needed for sautéing vegetables or deglazing a pan. For a space-saving option, you can reduce the stock by simmering it down by half to create a concentrate. Freeze the concentrate in ice cube trays, and when you’re ready to use it, simply reconstitute it with an equal amount of water. This method ensures you always have a bit of The Best Ever Vegetable Stock Dairy and Gluten Free on hand to elevate any meal. For more ideas on healthy living, check out our other health articles.
Key Takeaways for Your Culinary Staple
In conclusion, mastering this simple recipe is a game-changer for any home cook, especially those navigating dietary restrictions. By taking a little time to prepare your own vegetable stock, you gain complete control over flavor, nutrition, and ingredients. You’re not just making a broth; you’re creating a foundational element for healthier, more delicious meals. Therefore, embrace the process and enjoy the incredible results in all your future culinary creations. You can find more information on vegetable nutrition from authoritative sources like the USDA FoodData Central.
Related Posts